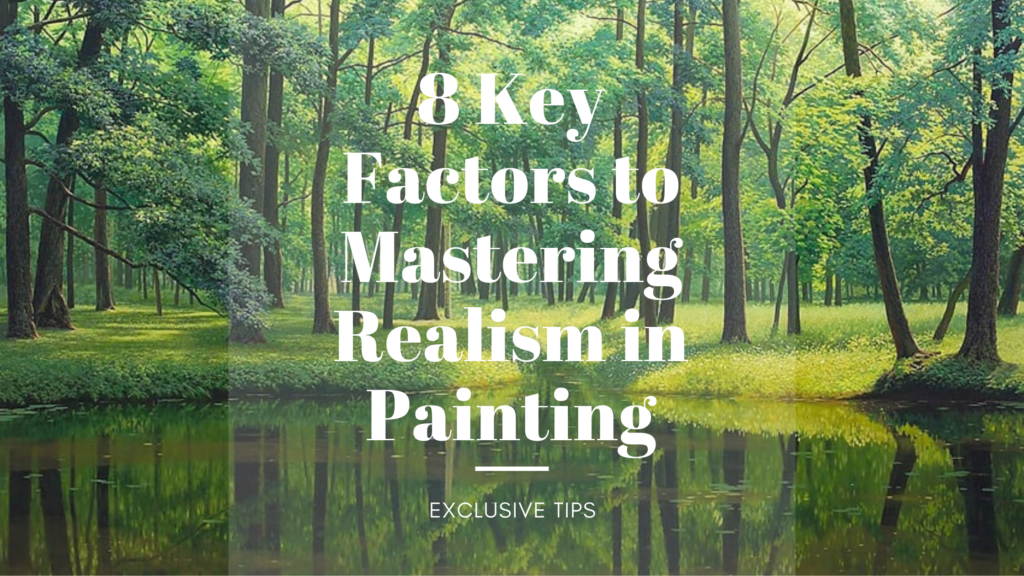
Realism in painting focuses on faithfully portraying the true nature of your subject, paying close attention to every detail and nuance. When painting from photos, it’s about translating what you see into a lifelike image. The key challenge is not just mimicking the shapes, but also the light, texture, and mood of the scene. It’s a delicate balance of observation and skill, where every detail matters to make the artwork feel real and dynamic.
Whether you’re just starting or you’re a seasoned artist, getting the details right is crucial. Realistic painting requires attention to elements like values, edges, and transitions. Mastering these can make all the difference in turning a flat image into a vibrant, three-dimensional piece. Let’s dive into eight key factors that will help you paint more realistically from photos, providing you with the tools you need to take your artwork to the next level.
1. Precision: Accurate Drawing from Observation
One of the foundational aspects of photo-realism is precision. To paint realistically, the drawing process needs to be accurate and precise. This begins with a clear and detailed sketch. Artists often use techniques like the grid method to help ensure that their drawing stays true to the proportions and angles of the reference photo. The grid drawing technique works by dividing both the reference photo and your canvas into a series of squares. This technique allows artists to concentrate on one small section at a time, simplifying the process of maintaining accurate proportions and fine details. By focusing on one square at a time, it becomes easier to replicate the specific details of the photo onto the canvas.
Taking the time to carefully map out your sketch allows you to avoid mistakes that might affect the realism of your final painting. Remember, the sketch is your foundation, and a strong foundation leads to a stronger final piece.
2. Values: The Importance of Brightness and Tone
The second key factor is understanding values – the brightness and darkness that make up the tonal range of your photo. A successful realistic painting relies on capturing the correct values, which helps create depth and form. When working from a photo, it’s crucial to observe how light and dark areas interact. Each object in your photo will have highlights, midtones, and shadows that must be translated accurately onto the canvas.
In many cases, the photo to sketch conversion process may involve adjusting the tonal values to match what is seen in the reference image. Pay close attention to how these values shift with light and shadow, and translate that onto your painting. If you are unsure about the values, use a grayscale version of your photo to break down the light and dark areas more clearly.
3. Contrast: Achieving a Balanced Range of Brightness
Contrast refers to the variation in brightness between the lightest and darkest areas of a painting, helping to create depth and emphasis. Realistic paintings thrive on contrast because it helps create visual interest and dimension. When working from photos, observe the contrast in the reference image and replicate it in your artwork.
To get the best results, aim for a wide contrast range – this means both dark shadows and bright highlights should be represented in your painting. The key is not to overdo it; too much contrast can make the painting appear harsh, while too little can make it look flat. Balancing contrast is essential to achieving a more lifelike, three-dimensional look.
4. Edges: Sharp or Soft, It Makes a Difference
In realistic painting, edges are just as important as values and contrast. The way you handle the edges in your painting can significantly impact how realistic it looks. Edges can be sharp, where the transition between light and shadow is clear, or soft, where the boundaries are less defined.
For example, in a portrait, sharp edges might be used around the eyes or nose, while softer edges can be employed in areas like the background or skin. Pay attention to how edges appear in your reference photo and replicate them accordingly. Keep in mind that in realism, the right edge treatment can make the difference between a flat painting and one that feels alive.
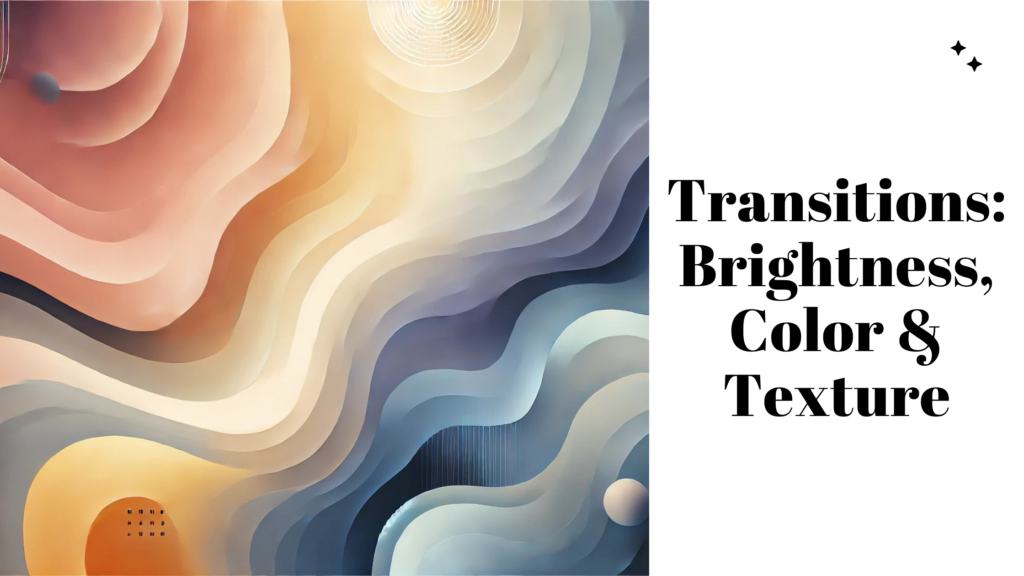
5. Transitions: Smooth Shifts in Brightness, Color, and Texture
The transitions in a painting – whether in brightness, color, texture, edges, or temperature – are critical for making the artwork feel dynamic. In your reference photo, notice how the colors and brightness shift subtly from one area to another. These transitions may occur in skin tones, fabric folds, or even in the way light hits an object.
For example, the transition from light to dark on a curved object creates volume and depth. As you paint, focus on blending the transitions smoothly, without harsh lines unless they’re needed for specific details like hair or sharp reflections. This approach will make your painting feel more natural and less contrived.
6. Temperature: Understanding Warm and Cool Colors
Temperature refers to the warmth or coolness of the colors used in your painting. In realistic painting, it’s essential to observe how colors change based on light sources. For instance, sunlight tends to produce warm tones, while shadows often have cooler hues.
In portraits, skin tones have both warm and cool elements, depending on the lighting. Understanding how to balance warm and cool colors within your painting can make it look more natural and true to life. When converting a photo to line drawing or sketch, artists often make notes of temperature shifts, ensuring these colors are accurately represented.
7. Colors: The Object’s Unique Fingerprint
Each object in a photo has a specific color that serves as its “fingerprint.” Capturing this color accurately is essential to realism. Whether you are painting a red apple or a blue sky, the colors must be observed and mixed correctly.
When using the grid method or photo to sketch conversion, pay special attention to how colors shift in the image. For example, the shadows on a bright red apple may not be as dark as you think – they might have a greenish tint depending on the light source. Mastering color mixing and replication will give your painting an authentic feel.
8. Saturation: The Sharpness and Richness of Colors
Saturation refers to how vivid or intense a color appears, with higher saturation making the color more pure and vibrant. A highly saturated color is vibrant and rich, while a desaturated color appears muted and grayish. In realistic painting, it’s important to observe the saturation of colors in your reference photo and replicate them accurately.
For example, a vibrant red flower might have high saturation in bright light, while a shadowed area of the same flower might be less saturated. Understanding how to control saturation will help you create a more realistic painting that reflects the true nature of the subject.
Fine Art Painters & Exclusive Painting Tips
Realistic painting isn’t something you just wake up and do – it’s a skill that takes time, practice, and a whole lot of patience. Even the pros had to start somewhere! That’s why many experienced artists love to share their tips and tricks with those just starting out. They’ll tell you everything from how to tackle tricky details to how to avoid making your painting look like a hot mess. Trust us, learning from their advice can save you from plenty of rookie mistakes, and help you level up your art game way faster!
- Johannes Wessmark, a photo-realistic painter, emphasizes the importance of spending time on your sketch. He suggests using a light table to ensure every line sits perfectly and to refine colors using small holes in the reference photo to compare with the painting.
- Eva Volf, a seascape artist, advises beginner painters to practice often and not put too much pressure on creating a masterpiece every time. Learning the basics and challenging yourself to paint from life are crucial to developing your skills.
- Rebekah Codlin encourages artists to paint what they love and experiment with light and contrast. She also recommends painting large to grab attention and kick-start your career.
- Kathy Morris, a portrait artist, stresses the importance of mastering drawing before painting. Drawing is a foundational skill that should be honed early, as it serves as the base for painting and other artistic techniques.
- Stan Miller, a watercolorist, suggests learning how to paint accurately first before interpreting subjects. He advises beginners to focus on drawing and values before worrying about color and technique.
The GridSketcher as a Helpful Tool!
For artists looking to improve their realism, using digital tools like GridSketcher can be a game-changer. This tool allows artists to easily convert photos into sketches, using the grid method to ensure accurate proportions and details. Whether you’re a beginner or a seasoned artist, GridSketcher can help refine your skills and make your photo-to-sketch process smoother and more precise.
By focusing on the key factors of precision, values, contrast, edges, transitions, temperature, colors, and saturation, artists can enhance their ability to create stunningly realistic paintings from photos. With practice, patience, and the right tools, anyone can master the art of realism.
