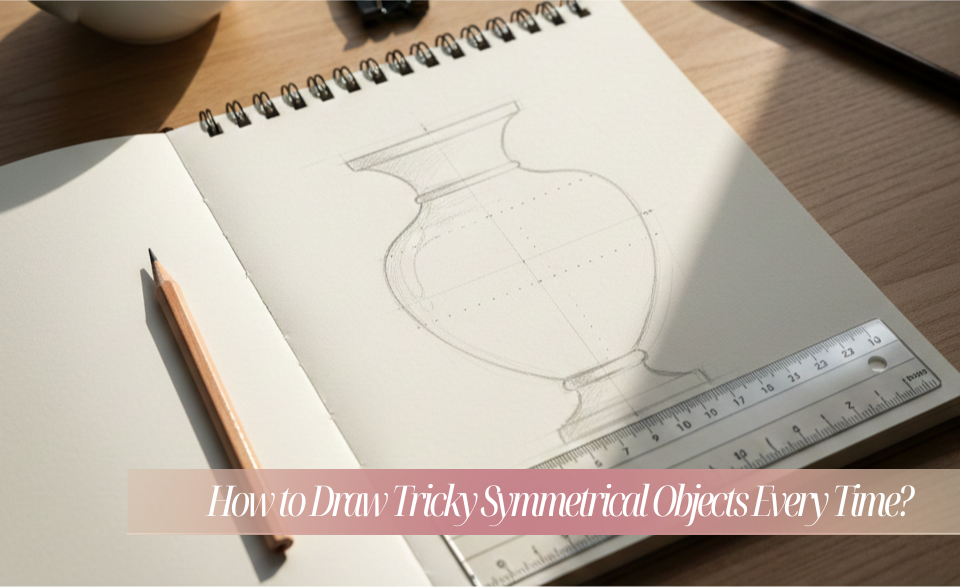
Do you ever feel frustrated when one side of your drawing looks perfect, but the other side looks wrong? This is a very common problem for almost every artist. We call this the “wonky side” struggle. Learning drawing symmetry for beginners is a vital step in your creative journey. Once you master this skill, your drawings will look professional and polished.
In this guide, you will learn the best tips to balance your art. We will explore simple techniques that anyone can use at home. I will also show you some symmetrical drawing exercises to build your muscle memory. By the end of this post, you will know exactly how to fix lopsided drawings forever. Let’s grab our pencils and dive into the world of perfect balance.
Why Does Our Brain Struggle with Symmetry?
Our brains are actually wired to take shortcuts when we look at objects. Often, we draw what we “think” we see instead of what is actually there. This is especially true for the right side of our brain versus the left. Most people find it much easier to draw a curve in one specific direction.
- ⇲ Dominant Eye Bias: Your eyes do not always work together perfectly. One eye usually leads, which can tilt your perspective.
- ⇲ Muscle Memory: Your hand moves more naturally when pulling a stroke toward your body.
- ⇲ Symbol Drawing: We tend to draw a “symbol” of an eye or a vase. This makes us ignore the actual measurement of the curves.
Because of these reasons, symmetry feels like a heavy chore. However, you can train your eyes to see the “gap” between the two sides. Using transition words like “furthermore” or “consequently” helps us understand that one error leads to another. If the top is wrong, the bottom will be wrong too.
The Essential Toolkit for Perfect Balance
You do not need expensive tools to draw beautiful, symmetrical shapes. In fact, simple tools are often much better for learning. A sharp pencil is your best friend for this task. I recommend using an H or HB pencil for your initial guide lines. These pencils leave light marks that are very easy to erase later.
- ⇲ Transparent Rulers: These allow you to see the drawing underneath while you measure.
- ⇲ A Kneaded Eraser: This tool picks up graphite without damaging the surface of your paper.
- ⇲ The Pencil Bridge: You can use a second pencil to measure distances between two points.
- ⇲ Drafting Tape: Use this to keep your paper from sliding around on the table
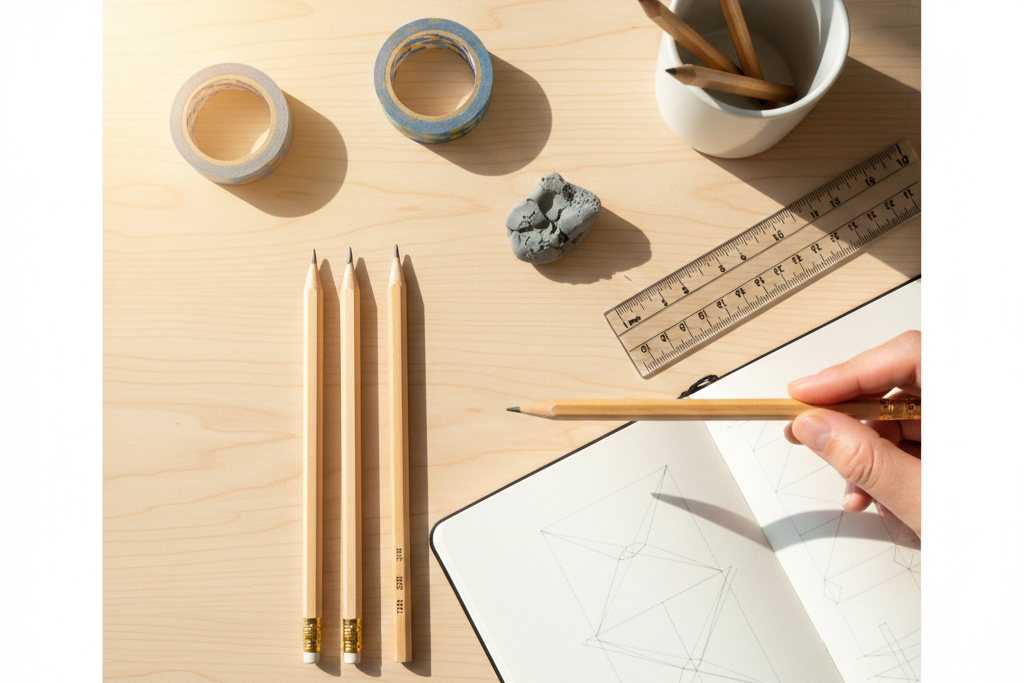
Additionally, a good light source is very important for your workspace. If your light is only on one side, it creates shadows. These shadows can trick you into thinking one side is wider than the other. Always try to work in a well-lit area to keep your vision clear.
Step 1: The Power of the Central Axis
The most important rule of symmetry is the center line. We call this the “Central Axis.” Think of it as the spine of your drawing. Without a spine, the whole body would just fall over. You must draw this line very lightly down the middle of your paper.
To get this line straight, you can use the edge of your paper as a guide. Measure the distance from the edge to the center at the top. Check and mark the center point at the bottom too. Connect those two marks with your ruler. Now, you have a perfect anchor for your entire object. This simple step is the best way to start drawing symmetry for beginners.
Step 2: Mapping with Horizontal Anchors
Once your vertical line is ready, you need horizontal guide lines. These lines act like a ladder for your drawing. They tell you exactly where the widest parts and the narrowest parts are. For example, if you draw a vase, you need a line for the rim. You also need a line for the neck and the base.
- ⇲ The Top Mark: This defines the height of your object.
- ⇲ The Widest Point: Mark how far the curve should go out.
- ⇲ The Narrowest Point: This is usually the “neck” of the object.
- ⇲ The Base: This ensures the object sits flat on the ground.
By using these anchors, you are creating a map. Consequently, you will not have to guess where the curves go. This is a pro secret for how to fix lopsided drawings before they even happen. Always keep these horizontal lines perfectly level with the top of your paper.
The “Dot-to-Dot” Mirroring Technique
Now it is time to connect the dots. Start on your “easy” side first. If you are right-handed, this is usually the left side of the object. Sketch the curve slowly and carefully. Once you are happy with it, you must mirror it. Use your pencil or a ruler to measure the distance from the center line.
First of all, pick a point on your finished curve. Measure how many centimeters it is from the center. Then, mark that same distance on the opposite side. Do this for at least five or six points along the curve. Now, you have a “connect the dots” puzzle on the second side. This makes drawing the “hard” side much less scary. It ensures that both sides have the exact same width.
Symmetry in 3D: The Challenge of Foreshortening
Sometimes, an object is perfectly balanced, but it does not look that way to our eyes. This happens because of a concept called “foreshortening.” Foreshortening occurs when an object tilts toward or away from the viewer. For example, think about drawing a long telescope pointing directly at your face. The sides are still symmetrical, but the length looks much shorter than it actually is.
- ⇲ Shape Distortion: A perfect circle often turns into a flat ellipse when you view it from an angle.
- ⇲ The Depth Trap: Our brains want to draw the full length of an object even when we cannot see it.
- ⇲ Vanishing Points: Symmetrical lines will appear to get closer together as they move away from you.
This is one of the hardest things for intermediate artists to master. If you want to dive deeper into this specific trick, I highly recommend reading our guide on Mastering Foreshortening: The Art of Drawing Depth. Understanding how depth affects your lines will make your symmetrical drawings look three-dimensional. It is the secret to making a flat drawing look like it is popping off the page.
Three Pro Tricks to Test Your Accuracy
Even if you measure perfectly, things can still look a bit off. This is because our eyes get tired of looking at the same image. Give your eyes a reset so you can spot what’s really off. Here are three simple ways to check your work instantly.
- The Mirror Reflection: Hold your drawing up to a real mirror. The reflection will show you every single mistake. It looks like a completely different drawing to your brain.
- The Upside-Down View: Turn your paper 180 degrees. When the drawing is upside down, you stop seeing a “vase” or a “face.” You only see lines and shapes. This makes errors pop out immediately.
- The Phone Camera Method: Take a photo of your work with your phone. Look at the small thumbnail on your screen. Reducing the size of the image helps you see the overall balance.
Symmetrical Drawing Exercises for Daily Practice
If you want to get better fast, you must practice every day. You do not need to draw a masterpiece every time. Instead, focus on small symmetrical drawing exercises to build your skills. These drills help your hand and eye work together.
- ⇲ Butterfly Wings: Draw a vertical line and try to draw matching wings on both sides.
- ⇲ The Wine Glass Challenge: Draw a simple wine glass over and over. Try to make the base match the rim perfectly.
- ⇲ Abstract Shapes: Draw a random wiggly line on one side. Match the shape as closely as possible on the other side.
- ⇲ The Fold Method: Draw one side, fold the paper, and rub the back. The graphite will transfer to the other side. Then, try to trace over it to understand the feeling.
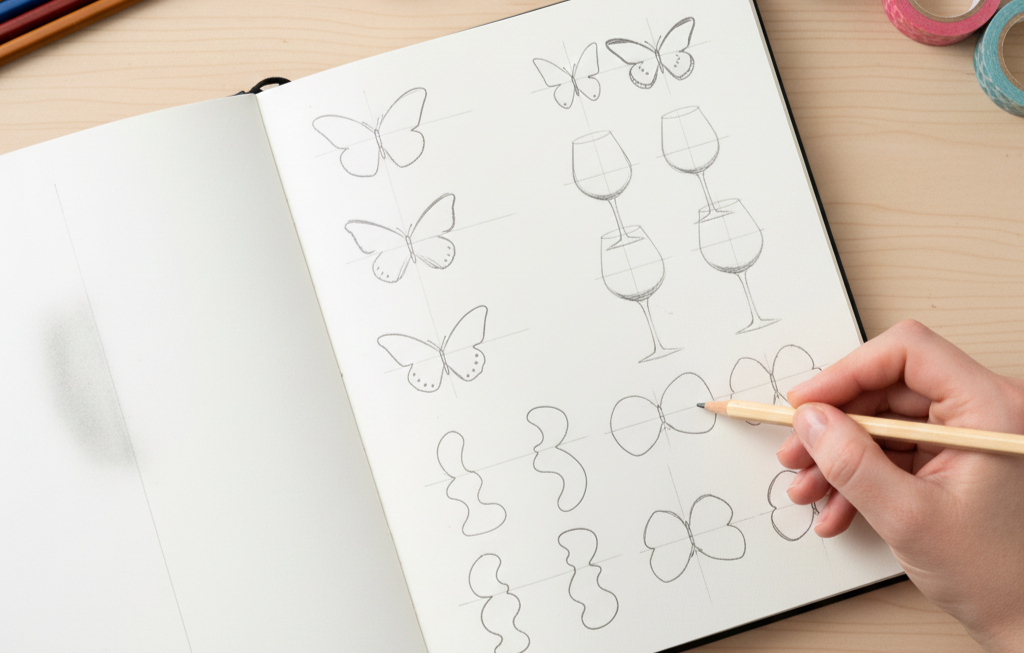
Additionally, try drawing with your non-dominant hand for fun. This helps you understand how much control you actually have. The more you do these drills, the more natural symmetry will feel. Soon, you will not even need a ruler for simple shapes.
Fixing Common Mistakes
What should you do if you notice a mistake late in the process? Do not panic and throw the paper away. Most lopsided drawings can be fixed with a few small changes. First, identify if the problem is the width or the height. Sometimes, one “shoulder” of a drawing is just higher than the other.
If one side is too wide, use your eraser to thin it down slowly. Do not erase the whole thing at once. Just shave off a small bit and check the balance again. If one side is too high, you might need to adjust the horizontal anchor line. Remember to keep your pencil strokes very light. This makes it easy to move lines without leaving “ghost” marks on your paper.
Your Path to Perfect Art
Mastering symmetry is a journey that requires patience and steady practice. You might find it difficult at first, but do not give up. Every artist you admire once struggled with lopsided drawings too. By using center lines and measuring your points, you are already ahead of most beginners. These technical steps provide the foundation for beautiful and realistic artwork. Furthermore, using modern tools can make this learning process much faster and more enjoyable for you.
Now it is time for you to take action. Go grab your sketchbook and a sharp pencil right now. Try drawing a simple bottle or a leaf using the techniques from this guide. If you want an extra helping hand, I suggest trying the GridSketcher tool to help align your proportions perfectly. Practice your symmetrical drawing exercises for at least ten minutes every day. You’ll notice improvement much sooner than you expect. I cannot wait to see the balanced and beautiful art you will create.
