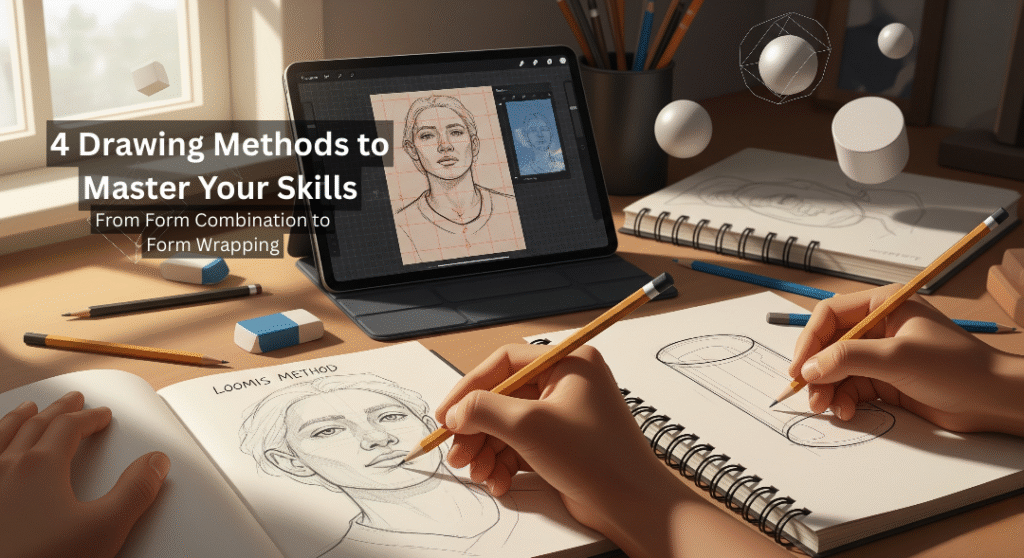
Drawing is not just a natural gift. It is a skill you can improve with consistent practice and the right techniques. Many aspiring artists find themselves unsure of where to begin. However, by understanding a few core principles for transforming simple shapes into complex ones, you can significantly accelerate your artistic journey.
This blog post will guide you through four essential drawing methods that can dramatically improve your technique and change the way you see the world around you. These principles are versatile and can be applied to various styles, from realistic portraits to anime drawing and character design.
The Basics: Building Your Foundation
Before you dive into complex portraits or landscapes, it’s essential to master the basics. Think of these as the building blocks of your artistic language. By regularly practicing these foundational elements, you’ll find that more advanced techniques come to you much more naturally.
The fundamental abilities every artist should master:
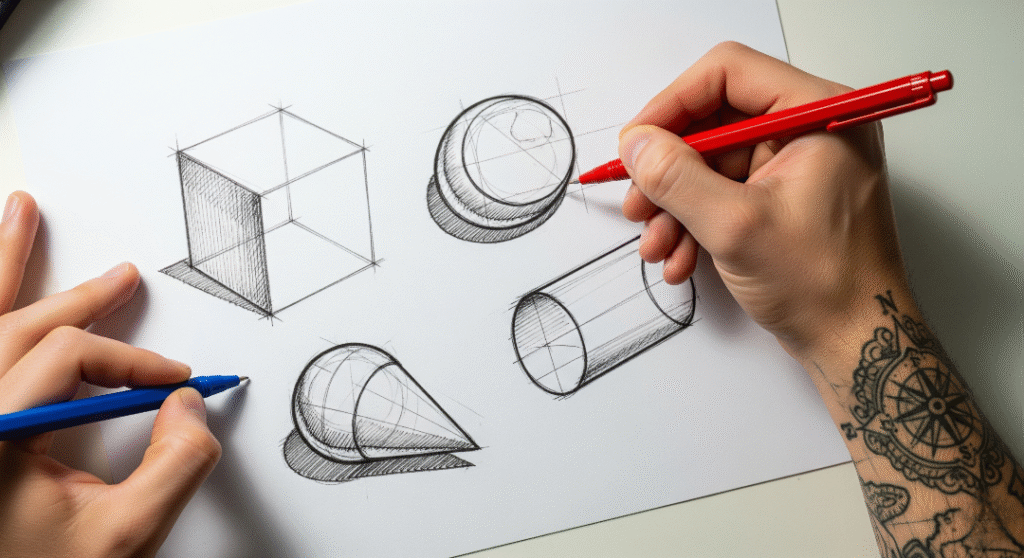
- Line Quality and Control: The ability to draw a confident, deliberate line is the foundation of all drawing. This isn’t just about drawing straight lines, but about understanding how to use pressure and speed to create lines that are expressive and strong.
- Shading and Value: This refers to the range of tones from black to white. Learning to control value is essential for making drawings appear three-dimensional and realistic. Without effective shading, artwork can seem flat and dull.
- Perspective: Understanding perspective allows you to create depth and space in your drawings. It’s the framework that makes objects look realistic and correctly placed within a scene.
Proportions: It is important to depict the correct size relationships between different parts of a subject. Good proportions ensure that your figures, objects, and environments look believable.
Key Drawing Exercises to Elevate Your Art
Now that we’ve covered the basics, let’s explore five powerful exercises that directly target these skills. You don’t need expensive materials. Begin simply with paper and a pencil, and let each stroke guide your learning journey.
1. Blind Contour Drawing
This exercise is excellent for enhancing your hand-eye coordination and observation skills. The process is simple yet challenging: without looking at your paper, you draw the outline of an object while looking only at the subject. Your pencil should not lift from the paper, so you’re left with one continuous line. The goal isn’t to create a perfect, beautiful drawing, but to train your hand to follow your eye’s movement.
- How to do it: Place an object in front of you (like your hand, a shoe, or a plant). Place your pencil on the paper, look at the object, and begin to slowly trace its contours with your eye. Let your hand mimic your eye’s path on the paper without looking down.
- Benefits: It forces you to truly observe your subject, not just what your brain thinks it looks like. This helps enhance your accuracy and makes your line work smoother.
2. Gesture Drawing
It involves swiftly drawing to represent a subject’s movement and overall feel. Instead of focusing on details, you work quickly to capture the energy and flow of the form. This is particularly useful for drawing figures, but it can be applied to animals, trees, and even inanimate objects.
- How to do it: Use a timer to set very short intervals (30 seconds to 2 minutes). Look for online references or a live model. Draw the subject’s entire form in a few quick, confident lines, focusing on the main action and flow.
- Benefits: It trains you to work faster and more confidently, without getting bogged down in unnecessary details. It helps you understand weight, balance, and the overall rhythm of a form.
3. Negative Space Drawing
This exercise is a powerful way to improve your sense of proportions and perspective. Negative space refers to the empty areas that surround and separate objects. By focusing on drawing this empty space instead of the object itself, your brain is forced to see shapes in a new way, often leading to more accurate results.
- How to do it: Place an object (like a chair or a houseplant) in front of you. Pay attention to the shapes formed by the empty spaces around and within the object. Draw the outlines of these negative shapes.
- Benefits: It helps you avoid the automatic shortcuts your brain often takes. By drawing what you see and not what you know, you can achieve a higher level of accuracy in your drawings.
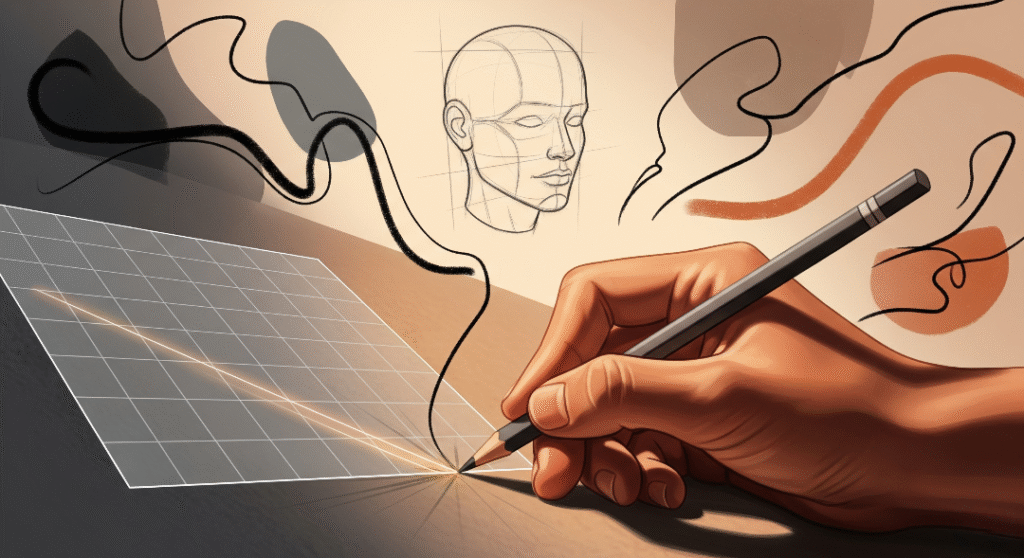
4. The Loomis Method
Developed by the legendary artist Andrew Loomis, this is one of the most effective methods for drawing realistic heads and faces from any angle. The technique simplifies the head into a few basic shapes, making it a reliable way to get proportions and perspective right every time.
- How to do it: Start with a simple sphere. Draw a line through the center to indicate the eye level and another to show the face’s central plane. Then, add a small sphere on the side for the jaw and cheekbone. From there, you can build up the features.
- Benefits: It provides a consistent, repeatable framework for drawing heads. Once you understand the basic construction, you can adapt it to draw faces of different ages, genders, and ethnicities.
5. Value Study with Grids
This exercise focuses on mastering shading and value. By breaking down an image into a grid, you can systematically analyze and replicate the different tones, from the lightest highlights to the darkest shadows. This is a very methodical approach that guarantees an accurate representation of light and form.
- How to do it: Find a reference photo you like. Start by placing a simple grid over your photo, then carefully replicate the same grid on your drawing paper to guide your proportions and placement. Go square by square, focusing on replicating the exact values and shapes of light and shadow within each box.
- Benefits: It removes the guesswork from shading and helps you see the subtle differences in tone. It is a fantastic way to train your eye to see value accurately, which is essential for creating depth and realism.
Drawing Skill Improvement Methods
These four methods are all based on building with or breaking down fundamental geometric shapes. Each technique hones a different aspect of your visual and conceptual skills.
1. Contour Manipulation
Contour drawing focuses on capturing the outline of a subject. It’s a powerful exercise that improves your hand-eye coordination and observational skills. The basic idea is to draw the visible edges and folds of an object. Contour manipulation takes this a step further by teaching you how to intentionally alter or “manipulate” these simple lines to create more dynamic and expressive forms. By focusing on how a line can curve, swell, and tighten, you learn to convey the feeling of three-dimensional form with a simple line. This technique is especially useful in anime drawing for capturing the dynamic flow and movement of a character.
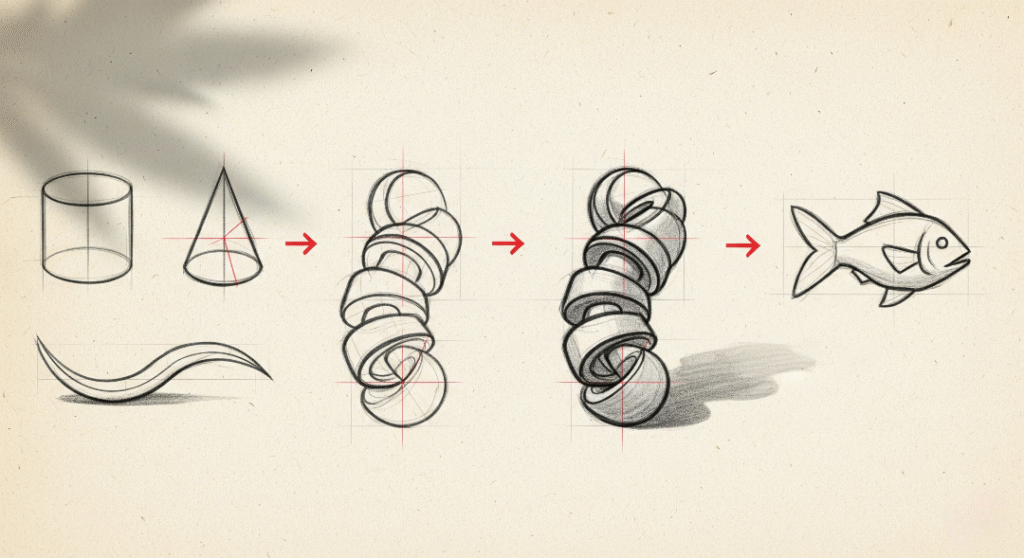
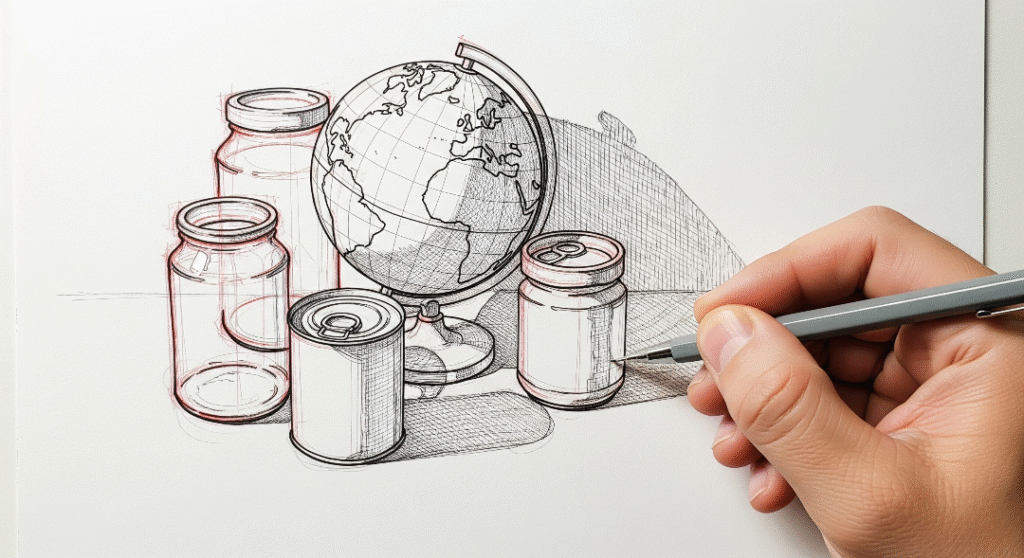
2. Form Combination
As the name suggests, this method involves combining two or more basic shapes (like spheres, cubes, and cylinders) to build a more complex object. For example, to draw a car, you can start by combining a large cube for the body with smaller cylinders for the wheels. By training your mind to see complex objects as a collection of simple forms, you can easily break down any subject into manageable parts. This makes drawing from imagination much more achievable, as you can construct objects from their foundational elements.
3. Form Subtraction
The opposite of Form Combination, Form Subtraction involves carving away parts of a base form to create a new one. Think of it like sculpting. You start with a solid block and slowly carve away material, uncovering the final shape hidden within. For instance, you could start with a large cube and subtract smaller cubes from it to create the steps of a staircase. This method is excellent for helping you understand negative space – the empty space around and within an object – and how it defines the object’s positive form.
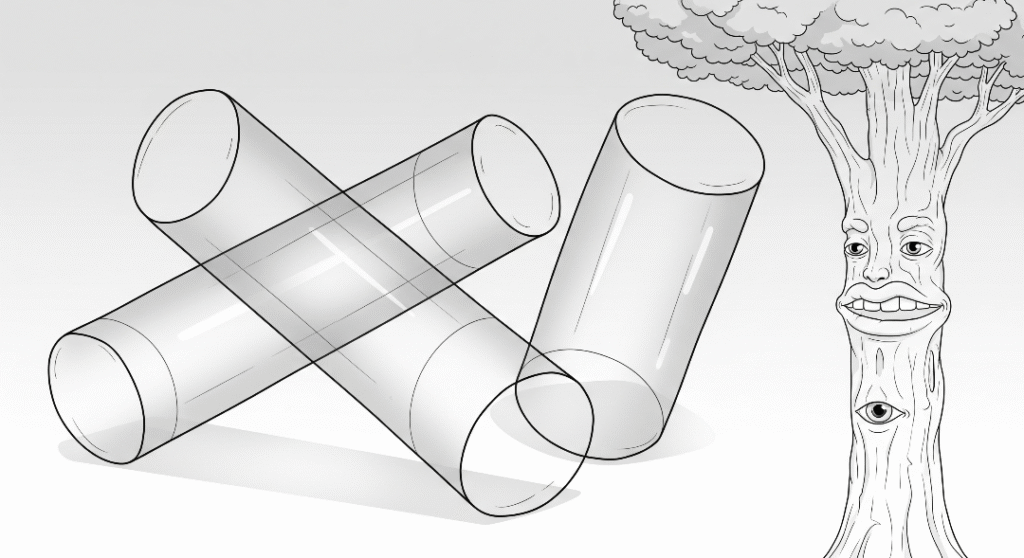
4. Form Wrapping
This method helps you visualize objects in three-dimensional space by “wrapping” 2D shapes around a 3D form. Picture a cylinder. By adding curved lines around it, you create the appearance of a solid, rounded shape. This technique helps you understand how light and shadow will fall on a form and how an object looks from different angles. It is a critical skill for creating drawings that feel grounded and have a sense of weight and volume
A Guide to Daily Practice
Consistency is key. You don’t need hours of free time every day; even 20-30 minutes of focused practice can lead to huge improvements over time. The following table provides a sample weekly schedule to help you get started with these exercises. Feel free to adjust it to fit your own needs and goals.
| DAY | EXERCISE | DURATION | GOAL |
|---|---|---|---|
| Monday | Contour Manipulation | 20 mins | Improve line flow and expressiveness |
| Tuesday | Form Combination | 30 mins | Build confidence in creating complex shapes |
| Wednesday | Form Subtraction | 30 mins | Understand negative space and form |
| Thursday | Form Wrapping | 20 mins | Strengthen 3D visualization skills |
| Friday | Any two methods of choice | 45 mins | Reinforce your learning |
| Saturday | Free Drawing | 1-2 hours | Apply your skills to a personal project |
Advanced Tips and Tools
As you progress, the tools you use can also play a role in your development. Experiment with different types of graphite pencils (from hard H grades to soft B grades), charcoal, and even digital art software to find what works best for you.
A few added notes for better results:
- Use References Wisely: Drawing from a photo to line drawing is a fantastic way to practice, but don’t just copy. Study the reference to understand its forms and structure before you begin.
- Explore Digital Tools: For precision and accuracy, especially in projects like photo to line drawing, modern tools can be incredibly helpful. If you want to achieve perfect proportions, consider using a tool like GridSketcher. It helps you turn any photo into a grid-based drawing, making it much easier to replicate the exact dimensions and shapes of your subject.
- Join an Art Community: Sharing your work and getting feedback from other artists is invaluable. An online forum or a local art group can provide motivation, support, and constructive criticism.
- Track Your Progress: Keep a sketchbook and date your drawings. Looking back at your early work will be a powerful reminder of how far you’ve come.
Conclusion
Mastering a new skill takes time and dedication, but the journey of learning to draw is one of the most rewarding. By integrating these targeted exercises into your regular practice, you are not just drawing – you are actively training your mind and hand to work together. Do not worry about making mistakes, as they are an important part of learning.
Now, pick up a pencil and start drawing. Your path in art starts with drawing a single line.
