I. The Magic of Making Flat Things Pop
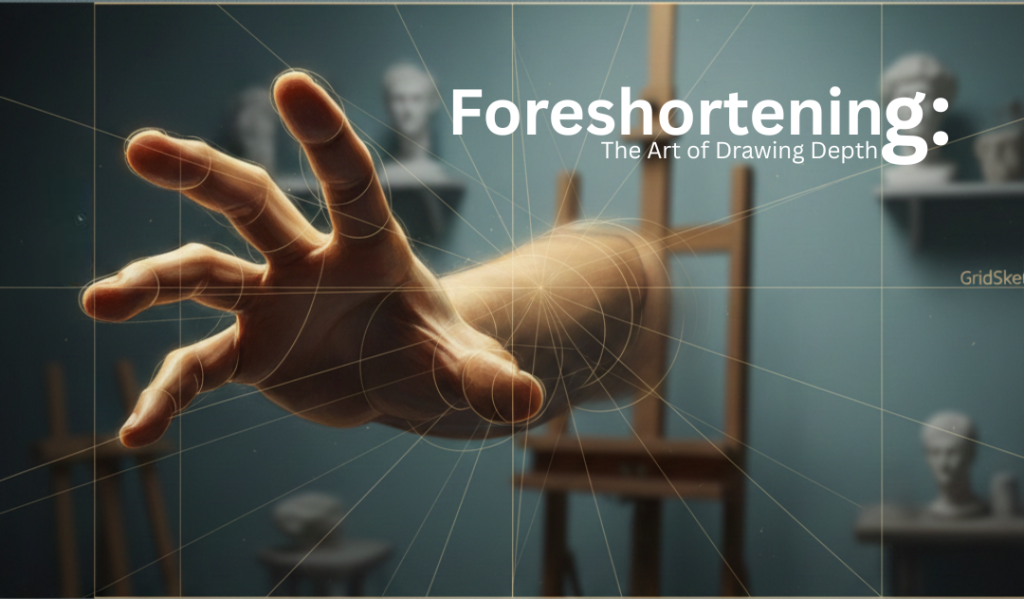
Have you ever seen a drawing that looks completely three-dimensional? Perhaps you saw an arm that seems to punch right out of the page. This amazing effect is not magic; it is simply a brilliant drawing technique. We call this powerful skill foreshortening.
Foreshortening is the special drawing technique that creates the powerful illusion of deep space. It is a necessary skill for any artist who wants to draw realistically. This technique makes objects look like they are advancing toward or receding away from the viewer. It is central to creating believable and dynamic art. Today, we will explore this technique. We will learn how you can use it to give your drawings amazing depth.
II. Foreshortening vs. Linear Perspective
It is easy to confuse foreshortening with perspective. However, they are different concepts. Perspective is the overall system used for drawing an entire scene in three dimensions. Think of standing on a long, straight road. You see the road edges move closer together and meet at a single point. This is a linear perspective, the system used for the entire scene.
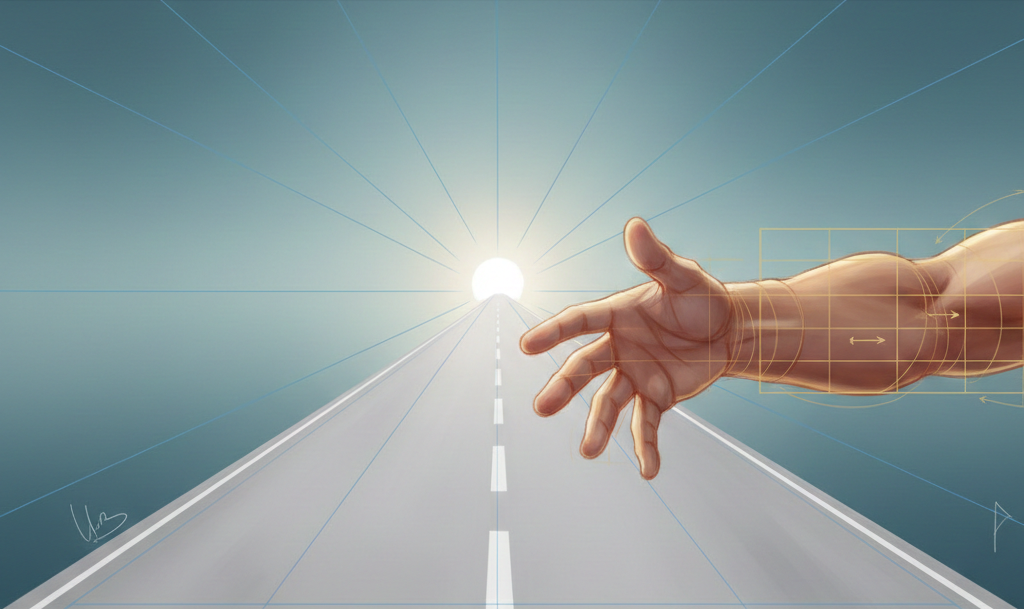
Foreshortening is different. It is the application of perspective to a single object or figure. When an object is angled sharply toward you, its true length seems to disappear. The object appears visibly compressed or shortened. This is why we use the term “foreshortening.” The technique makes the true length of an object appear shorter than it really is. Therefore, perspective is the rule set for a drawing. Foreshortening is a specialized trick to follow those rules on a complex item.
III. A Brief History: The Renaissance Breakthrough
The discovery and mastery of foreshortening marks a major moment in art history. This powerful technique became popular during the Renaissance period in Europe. Artists wanted their work to look more realistic and dramatic than ever before.
Key figures mastered this new skill. For instance, the Italian artist Andrea Mantegna was one of the first to truly use this technique effectively. He used it to create intense, dramatic views of the human body. He gave his figures immense weight and realism.
This technique was also crucial for decorating church ceilings. Artists would paint figures that seemed to float or ascend far above the viewer. This was called di sotto in sù, which means “from below, upwards.” This dramatic use of foreshortening showed bodies projecting out of the ceiling. Therefore, this skill was essential for making three-dimensional illusions.
IV. The Mechanics of Visual Compression
Why does foreshortening happen? It happens because of how our eyes see the world. When you look at an object angled away from you, the parts that are closer appear larger. Furthermore, the parts that are farther away appear much smaller. Your brain knows the object is long, but your eye tells you it looks compressed.
To draw this accurately, you must understand the points of compression:
- ⇲ The part closest to you will appear much larger than normal.
- ⇲ The length of the object along its receding axis becomes visually shortened.
- ⇲ Closer forms will naturally overlap the forms behind them.
To see this yourself, try holding one arm straight out toward your face. Notice how your hand looks very large. Notice how your forearm and upper arm look squashed and short. That visual effect is what you must capture in your art. If you are struggling to plot these compressed dimensions, the foundational use of a grid drawing method can help. This method lets you accurately check the scale of each part against your reference.
V. Step-by-Step Drawing Techniques
Drawing a foreshortened object can be difficult. It challenges you to draw what you see, not what you know. Here are three simple steps to help you master this complex skill.
1. Simplify into Basic Shapes
The most important first step is to simplify the complex object. Break things like a hand, a boot, or a torso into basic volumes. Use simple shapes such as cylinders, cubes, or spheres. It is always easier to place these simple shapes accurately in three-dimensional space.
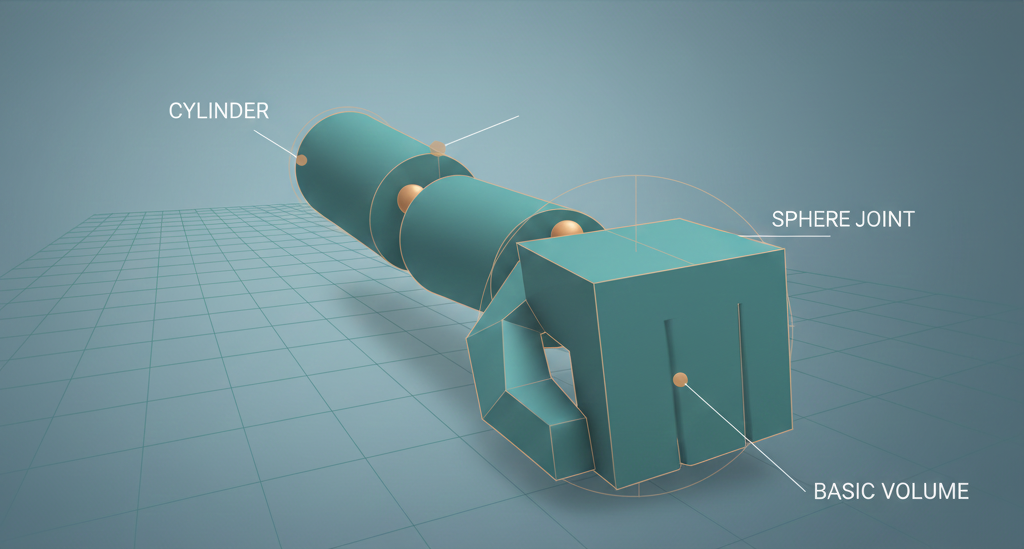
For instance, an arm is simply two cylinders connected at a joint. This simple approach helps you see the basic form clearly.
2. Use Overlap and Contours
Next, you must focus on the crucial elements of overlap and contour lines. When drawing an arm that is pointing away, the bicep will naturally overlap the shoulder. The forearm will overlap the bicep. This overlapping is what makes the depth immediately clear to the viewer. In addition, you should draw contour lines. Contour lines are lines that wrap around the form. These lines help sell the illusion of curvature and volume.

Try drawing through the object as if it were transparent to correctly place all parts.
3. Measure the Compression
Finally, you must accurately measure the visual compression. It is often challenging to draw a short shape when you know the object is long. You must focus on measuring the shortened distance between key points. For an arm, measure the short space between the shoulder and the elbow. For a box, measure the compressed distance of the receding side.
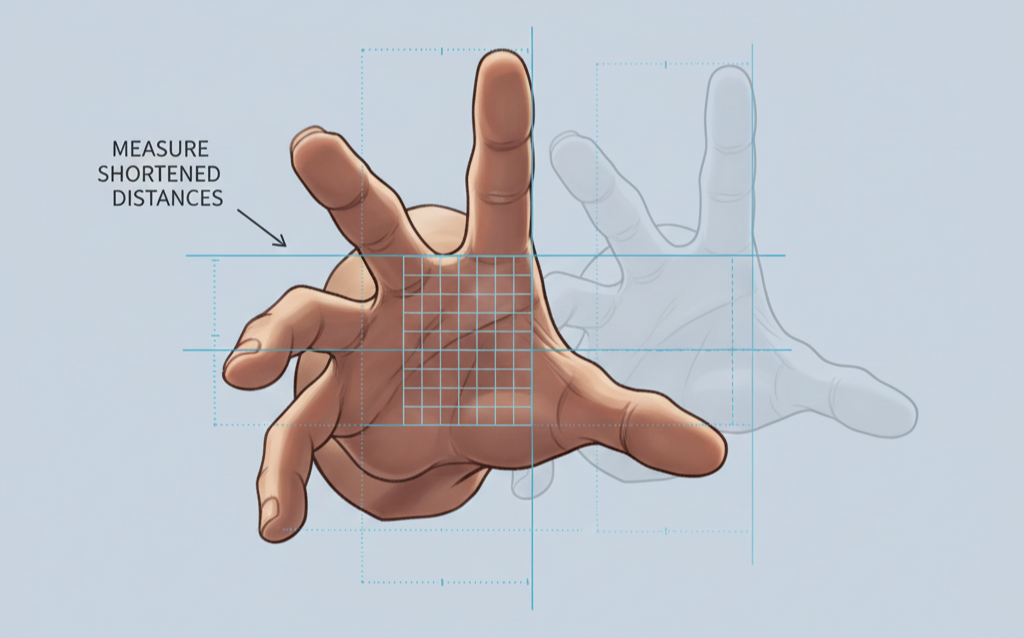
The biggest mistake beginners make is not shortening the object enough. Always shorten the length more than you think is necessary.
VI. The Ultimate Challenge: Foreshortening the Human Figure
The human figure is perhaps the most difficult subject for foreshortening. It is a major challenge for every artist. You face the mental hurdle of drawing a short, large circle when you know the arm is long and skinny.
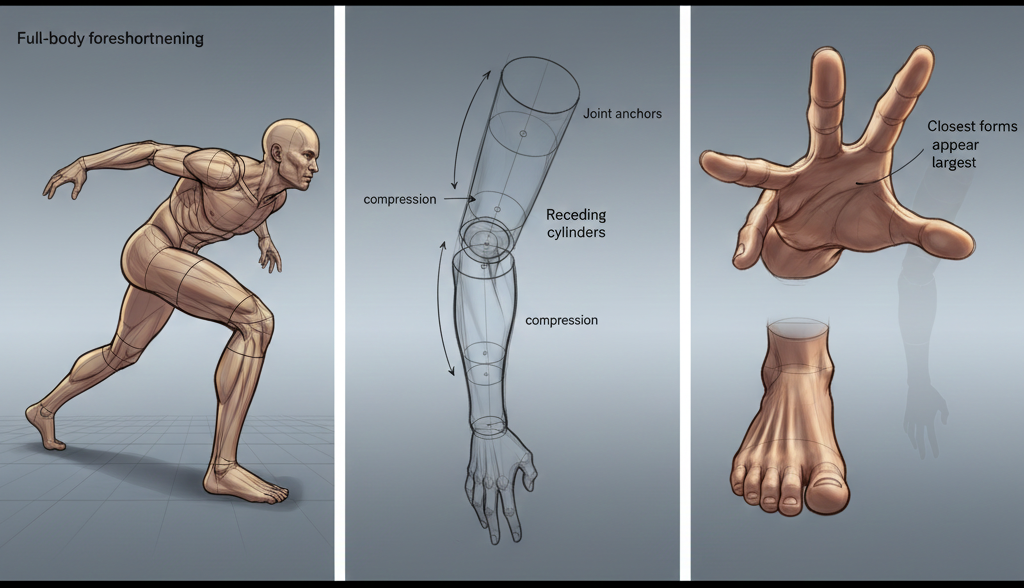
Drawing Limbs and Joints
Limbs should be drawn as stacked, receding cylindrical forms. The closest cylinder will be the largest. The one farthest away will be the smallest. Joints like elbows and knees are crucial points to anchor your drawing in space. You must use them as measuring points to confirm the compression. If you are drawing an arm coming toward you, the elbow needs to be drawn much closer to the shoulder than normal.
Hands and Feet
Hands and feet are often the most difficult parts of the body to foreshorten. When they are closest to the viewer, they must be drawn proportionally larger than the rest of the body. Remember that even though the foot looks very large, the artist must still draw it realistically. If you are working from a reference image, a photo to sketch conversion tool can simplify the process. This tool outlines major shapes and values. This makes the complicated foreshortening easier to see and draw.
VII. Practice, Mistakes, and Recommended Tools
Foreshortening is a skill that dramatically improves realism. It takes dedicated practice to master it. One great practice tip is to sketch everyday objects from extreme, unusual angles. Another common mistake is failing to allow enough visual compression.
- ⇲ Practice Tip: Try drawing a cylinder or a box many times from a low angle.
- ⇲ Final Goal: Make sure the edges of the form look like they are moving to a vanishing point.
For modern assistance, using a drawing app can be a great help. An app can assist with setting up initial perspective lines and guides. Specifically, a tool like GridSketcher can be incredibly useful. Artists can use it to place a grid over a complex foreshortened image. This helps break down the challenging forms into manageable, measurable sections. Start practicing today, and watch your drawings gain amazing depth!
