Ever thought of giving life to your imagination on a canvas? The journey of a thousand drawings begins with one stroke. Choosing supplies can be overwhelming for many aspiring artists. They are unsure where to begin their creative voyage. Don’t allow the abundance of possibilities deter you from pursuing your passion. This guide will help simplify the process. We’ll highlight five extremely crucial tools. These will help you get started on your artistic path quickly and economically. We will discuss both physical tools and a great digital help.
The Versatile Graphite Pencil: Your Artistic Foundation
The graphite pencil is the most basic drawing instrument. For sketching, shading, and adding more details, this could be the better option. Graphite pencils come in several grades. These grades indicate whether they are firm or soft.
- ➫ H pencils (like 2H, 4H) are harder. They create lighter, crisper lines. These are great for initial sketches and fine details.
- ➫ B pencils (like 2B, 4B, 6B) are softer. They produce darker lines and rich black tones. Softer pencils are more recommended when it comes to blending and shading.
- ➫ HB and 2B pencils are your everyday workhorses. They offer a good balance for most tasks.
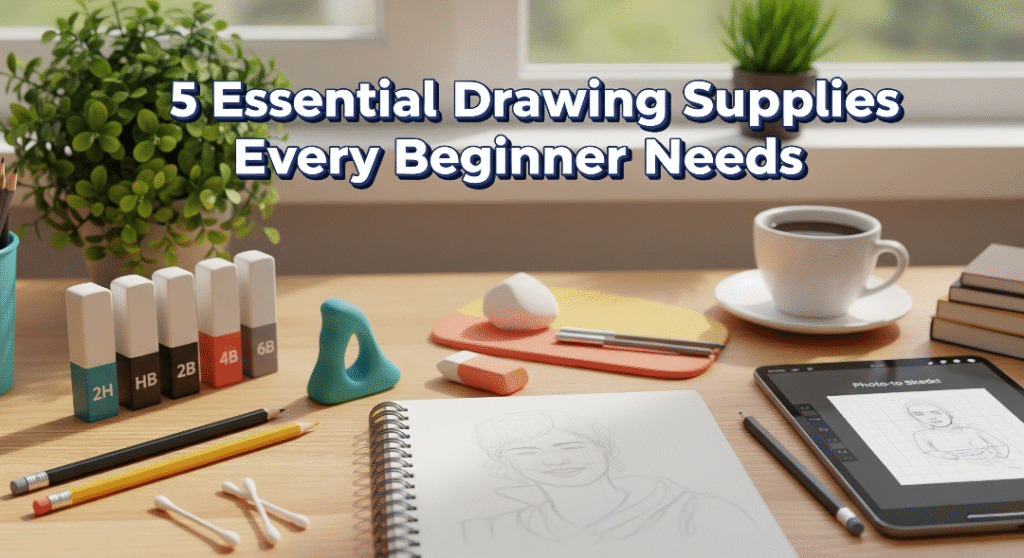
For newbies, a modest set is ideal. Try using options such as 2H, HB, 2B, 4B, and 6B. Alternatively, an HB and 2B will get you started. To create broad strokes, hold your pencil loosely. Grip it closer to the tip for more detail. Keep your pencils sharp for clear lines. Quality brands, such as Staedtler Mars Lumograph, are reliable options.
Remember, each stroke is creating not just art, but making an identity of yours when you head to this path. Creating art is just one part of being an artist. Learning to present your work is also important. To help you later, read about effective self-presentation. Check out our guide on how to write an artist bio that sells. This skill is vital as your art develops.
The Magic of Erasers: More Than Just Fixing Mistakes
Erasers aren’t just for correcting errors. They are essential for the creation of highlights and textures. Understanding different sorts enhances your art.
- ➫ Kneaded erasers are soft and pliable. They lift the graphite gently. You can shape them to achieve exact erasure. They do not leave any residue. This makes them ideal for dim lighting.
- ➫ Plastic or vinyl erasers will totally remove graphite. They are firmer and cleaner. These erasers are great for eliminating dark markings. They leave less smudge than rubber erasers.
- ➫ Pencil erasers, or stick erasers, are extremely thin. They are ideal for minor details. Use them in tight spaces where precision is essential.
Erasers should always be used with a delicate touch. To prevent damage to the paper, avoid pushing too firmly. Kneading your kneaded eraser will help it stay clean. This exposes a new surface.
Your Creative Canvas: Choosing Quality Paper
Paper is not just a surface. Its quality has a big impact on your drawing. Good paper tolerates graphite nicely. It also can erase without ripping.
- ➫ Sketchbooks are ideal for transportation. They keep all of your practice in one location. They provide consistency in paper type. It also helps you keep track of your developments. Many beginners find them less daunting. You can select spiral-bound or hardbound choices.
- ➫ Loose sheets are ideal for larger projects. They are also excellent if you intend to frame your artwork.
Consider the following paper characteristics:
- ➫ Weight (GSM): It denotes the thickness of paper. A minimum of 60-80gsm is suitable for sketching. Higher weights are preferable for more serious designs.
- ➫ Tooth/Texture: This term refers to the paper’s surface. Details matter in art, and a smooth paper is the perfect choice. For ordinary tasks, go for medium tooth papers.
- ➫ Acid-free paper reduces discoloration with time. This guarantees that your artwork lasts longer.
For beginners, a good quality sketchbook is recommended. Generally speaking, A4 or A5 size is sufficient.
Blending Tools for Smooth Transitions
Blending tools make it easier to generate smooth gradations. They produce softer shadows and richer tones. These tools improve the overall appearance of your drawing.
- ➫ Tortillons, also known as Blending Stumps, are tightly wrapped paper. They allow for accurate mixing. Use these to distribute graphite evenly.
- ➫ Cotton Swabs or Q-Tips provide a gentler mix. They are effective on wider regions. They produce a diffuse impression.
- ➫ Tissues or paper towels are used for very broad mixing. Use them to create wide, gentle transitions.
- ➫ Your fingers can also be employed. It is ideal for rapid blending. However, use caution. Oils from your skin might discolor the paper.
Your blending tools should always be clean. Apply minimal pressure when mixing. Layer the graphite before mixing. This adds extra material to work with.
Beyond the Traditional: The Power of Digital Aids
Modern sketching involves more than simply physical gadgets. Digital aids are becoming quite valuable. They can dramatically speed up learning. They also enhance accuracy, particularly among beginners.
The grid approach is an effective technique. It breaks down complex visuals. You break the image into smaller, more manageable squares. This strategy boosts your proportional abilities. It also improves spatial awareness. The grid method can help you overcome intimidation. It increases your confidence by simplifying complex topics.
For aspiring artists, a photo to sketch conversion app can be a game-changer. It improves proportionality and accuracy. Consider using GridSketcher. It’s an excellent, user-friendly photo to line drawing application. It allows you to effortlessly apply the powerful grid approach. You can apply it to any reference image. GridSketcher is intended to be user-friendly. It is also totally free to use. This makes it an invaluable resource for any artist.
While it is possible to draw grids manually, digital sketching apps are far more convenient. They add precision to this procedure. These tools offer a grid overlay that can be customized. You can apply this grid to any reference image. Hence, it ensures the process is on the right track and running efficiently. They turn a potentially boring task into an at-ease one. This is where a grid drawing app becomes invaluable. It transforms your photo into a manageable sketch.
Your Artistic Journey Starts Now
You now have a solid understanding of the necessary tools. These include graphite pencils, erasers, and high-quality paper. Blending tools are very important. As you begin your sketching adventure, remember that learning should be enjoyable. Mastering old tools is essential. However, do not hesitate to use current technology. It can significantly accelerate your learning curve. So, what are you waiting for? Grab these essentials, download GridSketcher, and let your creativity flow!
